How to Incorporate Inserts in Rotomolded Products
 Apr 05,2024

How to Incorporate Inserts in Rotomolded Products
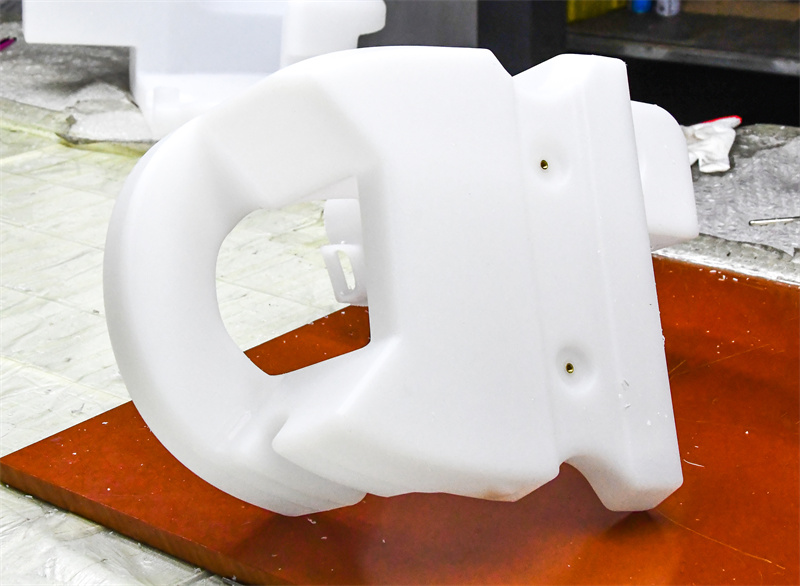
Roto molding is a popular plastic molding technique used to produce hollow, seamless, and uniform plastic products like storage containers, plastic toolbox, automotive parts, and more. One of the key advantages of roto molding is its ability to incorporate inserts, which can add functionality, structural integrity, and a touch of sophistication to the final product. Here's a step-by-step guide on how to incorporate inserts in rotomolded products

1. Determine the Insert Functionality
The first step in designing inserts is to determine their functionality. Inserts can serve various purposes, such as providing structural support, adding functionality (like threads for screwing), or creating specific features (like handles or hinges). Understanding the intended use of the insert will guide the design decisions for size, shape, and material.
2. Select the Appropriate Material
The material of the insert should be selected based on the required functionality and the environment in which the product will operate. Common materials for inserts include metals (such as steel or aluminum), plastics, or composites. The chosen material should have the necessary strength, durability, and compatibility with the rotomolded material.
3. Design the Insert
The design of the insert should consider factors such as the shape, size, and tolerances. The insert design should complement the rotomolded part, ensuring a secure fit and proper functionality. It's important to create accurate drawings and specifications for the insert to communicate the design intent to the manufacturing team.
4. Insert Positioning
The positioning of the insert within the mold is crucial. Inserts should be placed in areas that allow for proper material flow and do not interfere with the roto molding process. They should also be positioned in a way that facilitates easy removal after the molding cycle. Considerations such as draft angles and ejection mechanisms should be taken into account during insert design.
5. Integrate Inserts into the Mold
The integration of inserts into the roto molding mold involves creating cavities or channels that securely hold the inserts in place during the molding process. These cavities or channels must be designed to maintain the desired dimensions and prevent any movement of the inserts during the molding cycle. Proper integration ensures that the inserts remain fixed and functional within the rotomolded product.
6. Considerations for the Roto molding Process
When designing inserts for rotomolded products, it's important to consider factors that affect the roto molding process. These include:
a. Material Flow: The design should allow for smooth material flow around the insert, preventing any air traps or voids.
b. Molding Cycles: The insert design should accommodate the heating and cooling cycles of the roto molding process, ensuring dimensional stability.
c. Removal Mechanisms: The mold design should include features for easy removal of the inserts after the molding cycle, such as ejection pins or slides.
7. Prototyping and Testing
Once the insert design is complete, it is advisable to create prototypes and test them for functionality and durability. Testing can reveal any issues with the insert design, such as incorrect size or placement, allowing for adjustments before full-scale production.
Incorporating inserts into rotomolded products can enhance both their functional capabilities and aesthetic appeal. By emphasizing meticulous design, accurate integration, and comprehensive testing will facilitate the seamless incorporation of inserts, yielding high-quality rotomolded products.
 Tel: 0086-13632687993
  Email: roto@lightvenus.com

 Home
Home What Type of Post-Processing Techniques Commonly Used for Rotomolded Products
  You May Also Like


 Tel
Tel
 Email
Email
 Address


